Top 3 Easiest Ways To Temper Dark Chocolate
This post may contain affiliate links. For more information, please see our disclosure policy.
Tempering dark chocolate might sound like something only professional chocolatiers can master, but anyone can do it with the right technique. Proper tempering creates a glossy, smooth finish and gives chocolate that satisfying snap.
Using simple methods makes tempering easy, even for beginners. You can turn your snacks into healthier alternatives by tempering low-sugar, dairy-free dark chocolate using one of the easy methods below!
The Seeding Method: A Foolproof Approach
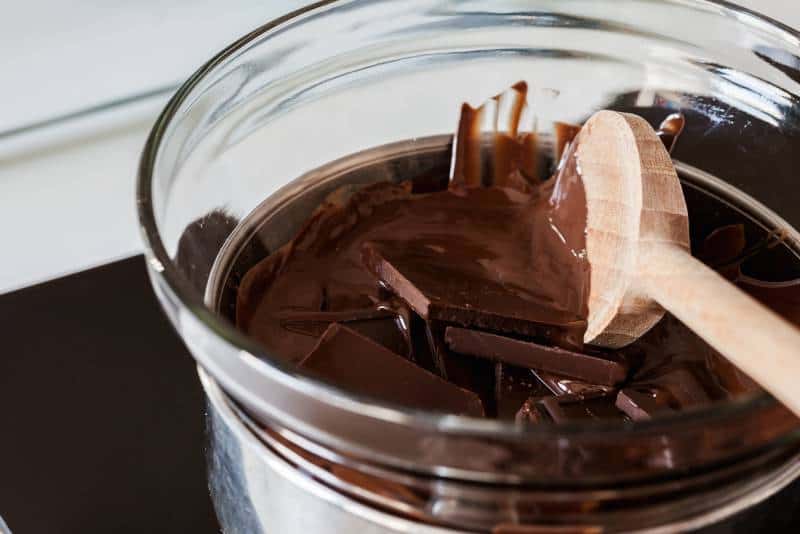
One of the easiest ways to temper dark chocolate involves the seeding method. This technique keeps things simple by using already tempered chocolate to guide the process. Melting most of the chocolate and then adding solid pieces stabilizes the cocoa butter crystals.
Start by melting about two-thirds of your dark chocolate over gentle heat. Once it reaches 115°F (46°C), remove it from the heat and stir in the remaining chocolate. The cool chocolate lowers the temperature and encourages proper crystallization. Stir continuously until the chocolate cools to 88-90°F (31-32°C). Then, it’s ready to use.
This method works well because it minimizes risk. High-quality chocolate makes a noticeable difference, so always choose couverture or premium brands. Avoid moisture at all costs because even a single drop of water can cause the chocolate to seize.
The Tabling Method: A Classic Technique
Spreading melted chocolate over a marble slab might seem fancy, but the tabling method ensures perfect tempering every time. This technique involves pouring two-thirds of the melted chocolate onto a cool, smooth surface and continuously spreading it with a spatula.
The constant motion encourages the cocoa butter to form stable crystals. Once the chocolate cools to about 82°F (28°C), scoop it back into the bowl with the remaining warm chocolate. Stir everything together until the temperature reaches 88-90°F (31-32°C). Then, it’s ready for dipping, molding, or drizzling over desserts.
Don’t panic if the chocolate seizes. It’s good to know what to do when your chocolate seizes, such as adding a small amount of warm cream for a ganache instead of a lost cause. Learning to fix chocolate mistakes makes tempering less intimidating.
The Microwave Method: A Quick and Easy Option
Using the microwave method is another one of the easiest ways to temper dark chocolate. The microwave method keeps things simple and avoids extra dishes. Prevent burning and achieve a smooth temper by heating chocolate in short intervals.
Place chopped chocolate in a microwave-safe bowl and heat it for 15-20 seconds at a time. Stir after each interval to distribute the heat evenly. It’s ready to use once the chocolate reaches 90°F (32°C).
Patience makes all the difference. Microwaving chocolate for too long ruins the texture. Checking the temperature with a thermometer guarantees success. This method works best for small batches and quick chocolate projects.
Time To Start Tempering
Perfectly tempered chocolate makes homemade treats look and taste professional. Choosing the right method depends on skill level and available tools. Mastering tempering takes practice, whether using seeding, tabling, or the microwave.
Grab some dark chocolate, test out a method, and create something delicious. Have fun experimenting and enjoy the rewards of beautifully tempered chocolate!